Recessed LED Video Wall Solution for Existing Spaces
Make the LED display fit your space — not the other way around.
When the architectural opening is already built or the installation depth is limited, we design a recessed LED video wall around the actual site conditions — including module layout, custom steel structure, electronics placement and front maintenance.
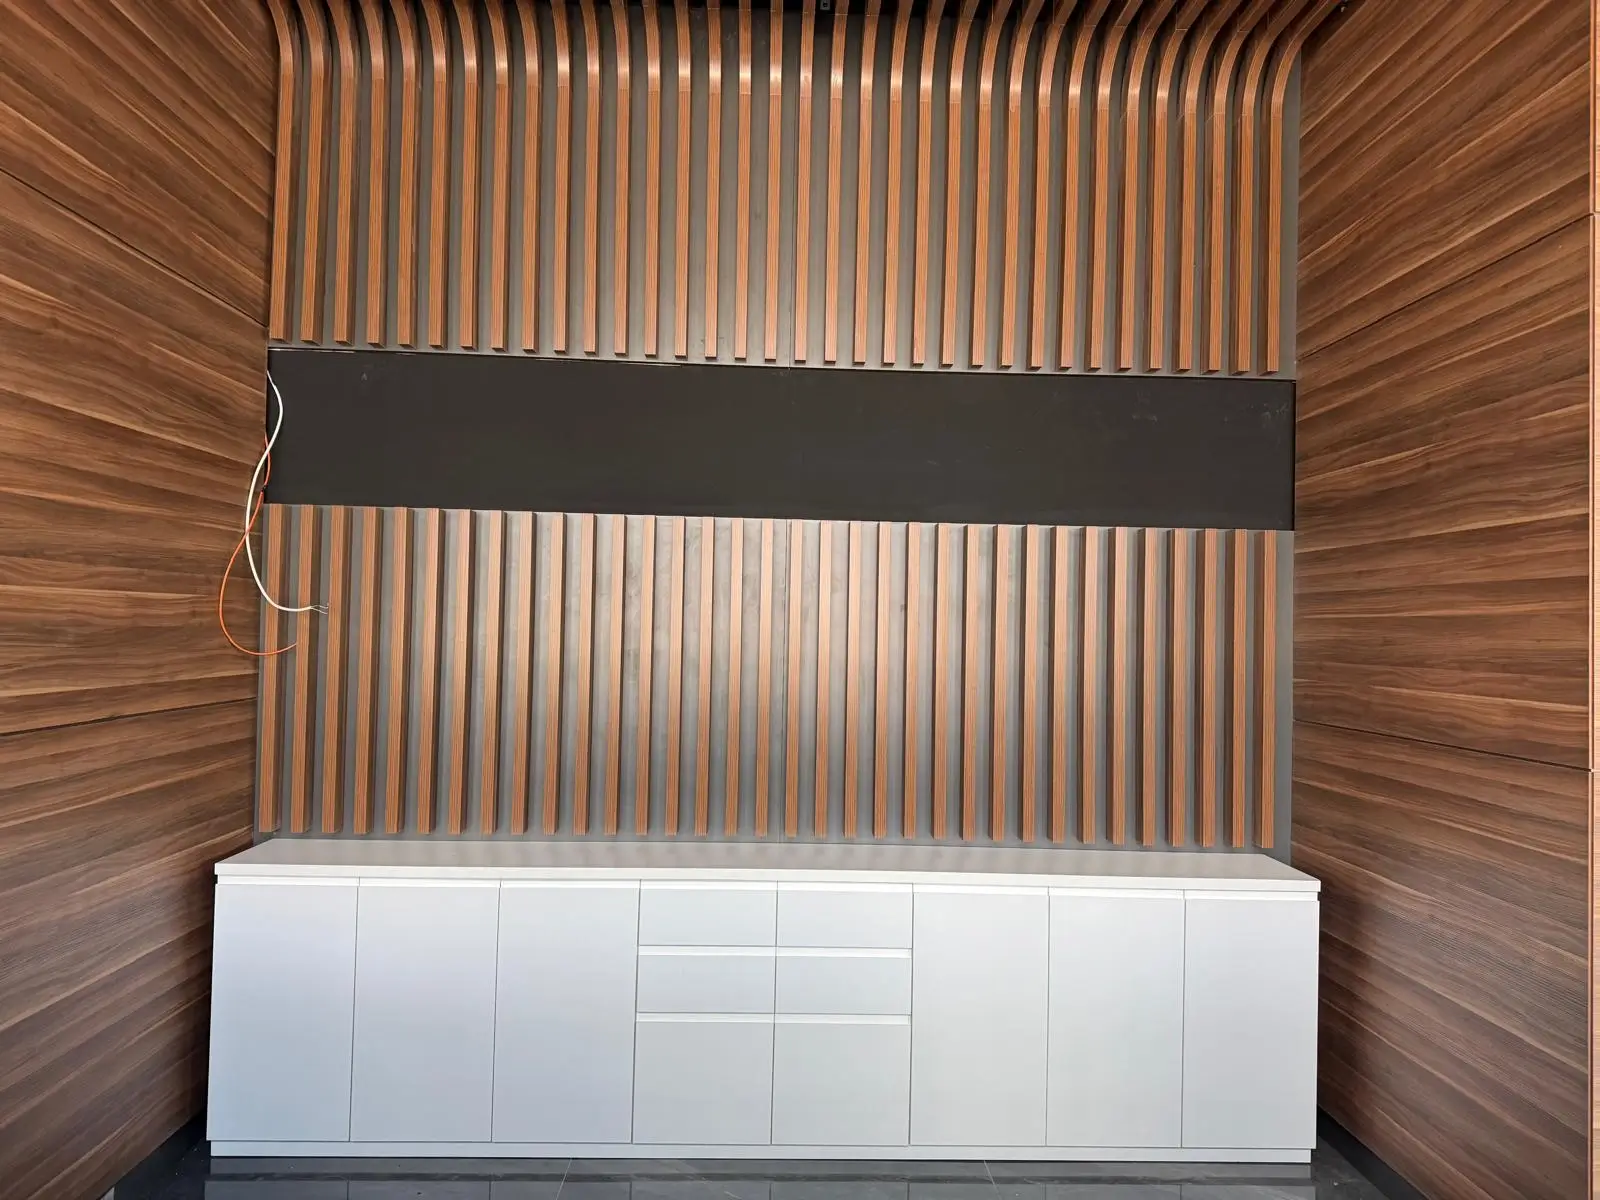
When the Wall Is Already Built
Different constraints, different solution.
Most LED video wall projects allow the installation space and supporting structure to be planned around the display. But when the wall, opening or interior finish is already completed, the process is reversed. The LED system must be designed around the available width, height, depth and maintenance conditions.
Standard Installation
New wall or frame, flexible installation space.
Determine the required screen size and pixel pitch.
Prepare the supporting structure for the LED display.
Complete the wall or frame around the planned LED system.
The installation space can be planned around the LED display.
Existing-Space Installation
Existing opening, fixed dimensions and limited depth.
Confirm the available width, height and depth (W × H × D).
Match the module dimensions to the available installation area.
Plan the steel structure, power supplies, receiving cards and cabling within the available depth.
Keep modules and internal components accessible from the front when rear access is unavailable.
The LED system is designed around the available space.
Key Measurements and Considerations
Before designing a recessed LED wall, these are the key factors you need to confirm.
When the wall or opening is already built, the LED system must match the available space and technical conditions. The following measurements and considerations help us determine a practical module layout, structure design and maintenance approach before installation.
Opening Size
Measure the actual opening size accurately and confirm any tolerances or irregularities on all sides.
Installation Depth
Measure the usable depth from the front surface to the back wall. This affects the steel structure, electronics placement and cable routing.
Module Size & Layout
Select suitable module dimensions and calculate the layout around the actual opening size to achieve a clean and practical installation.
Maintenance Access
Confirm whether rear access is available. If rear access is limited or unavailable, the LED system should be designed for front maintenance.
Power and Signal
Plan the locations of power supplies, receiving cards, signal cables and power cables within the available installation space.
Surrounding Conditions
Check the wall material, flatness, fixing conditions and any obstacles such as columns, pipes or existing wiring.
The more accurate the site information, the more precisely the LED system, steel structure and maintenance access can be planned.
The Critical Constraint: Installation Depth
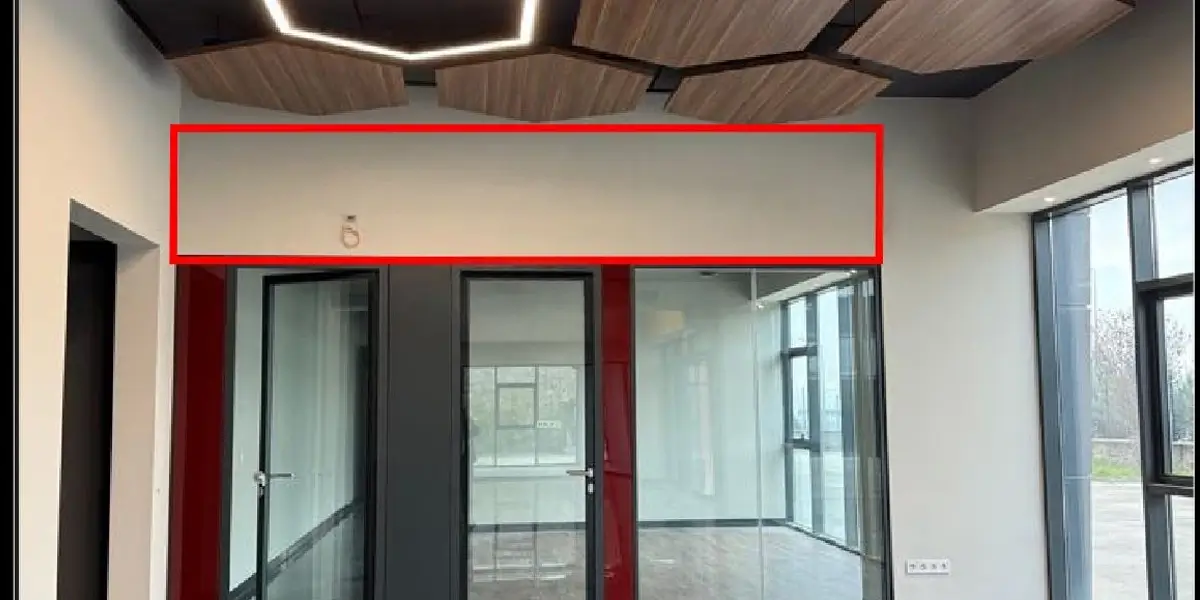
The recessed opening was already built and could not be modified.
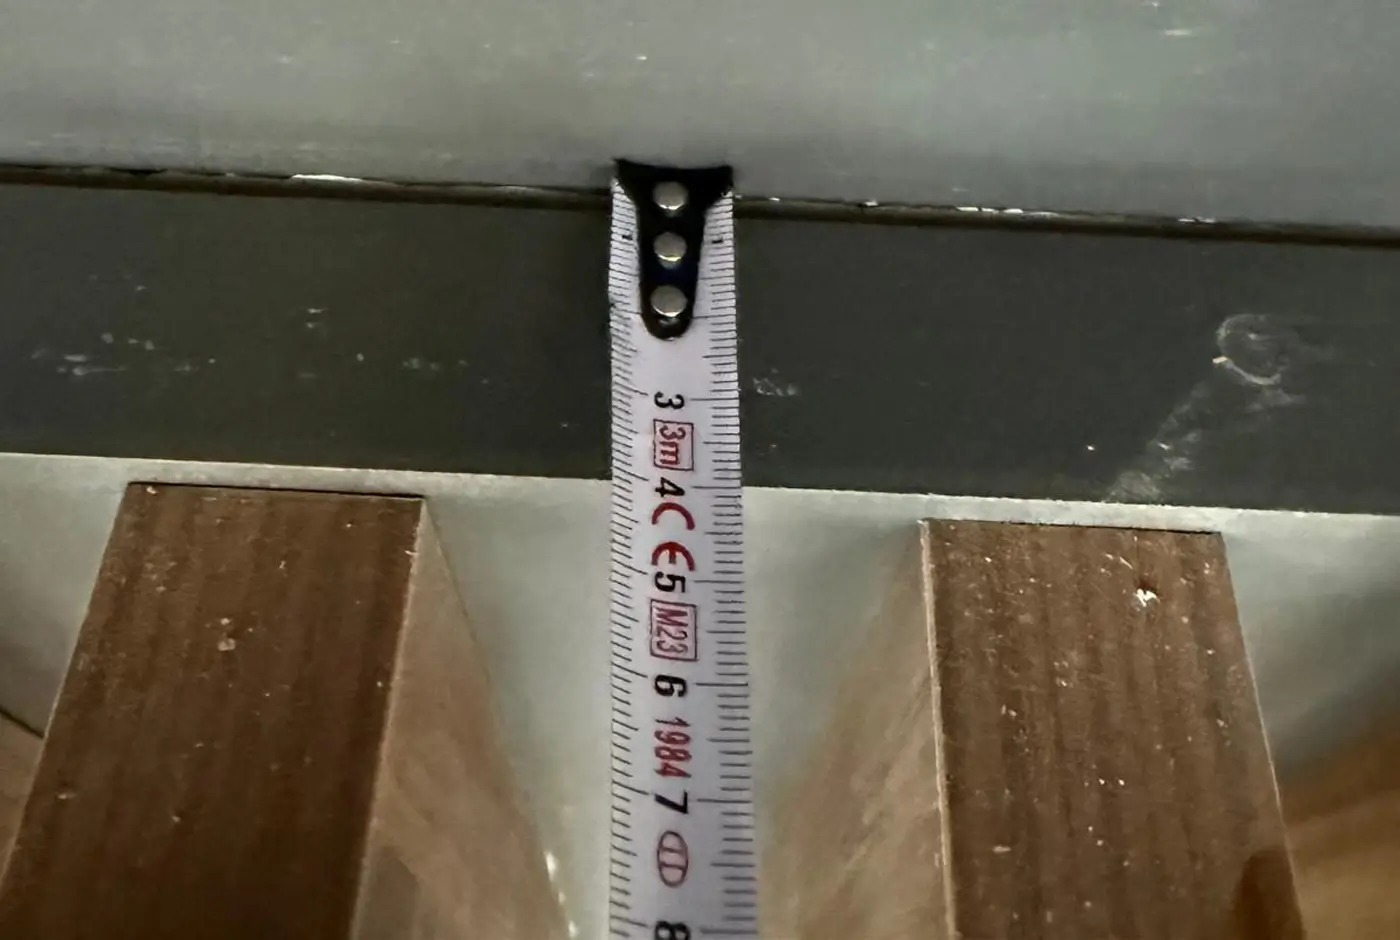
The original wall recess depth was approximately 40 mm and could not be changed. The surrounding wooden finish provided additional usable depth, but the total installation thickness still had to remain within the finished wall profile.
- Custom steel structure
- Power supplies
- Receiving cards
- Cabling
- Magnetic LED modules
All components had to work together within the available space.
How We Designed Around the Available Depth
The available space could not be changed. So every part of the LED system had to be planned around it.
3250 × 500 mm Existing Opening
We confirmed the exact opening size and checked all tolerances on site. The existing opening defined the maximum installation area, and the display had to work within these fixed dimensions as the wall could not be modified.
Module Layout & Screen Design
Based on the confirmed width and height, we designed the module layout around the available space rather than changing the wall to fit a standard screen size.
Structure + Electronics + Modules
The steel structure, power supplies, receiving cards, cabling and LED modules were considered as one complete installation system. Each component had to fit within the limited available depth.
Front Access
With no practical rear maintenance space, the system was designed for front access so the LED modules and internal components could be installed and serviced directly from the front.
The LED display was engineered to adapt to the wall.
By working within the existing space and carefully integrating every component, the system could achieve a clean installation with front maintenance without modifying the existing wall.
Two Screens, Two Different Installation Conditions
The project included two LED screens in the same space, but with completely different installation conditions. Each screen required a solution based on the actual site environment.
3250 × 500 mm
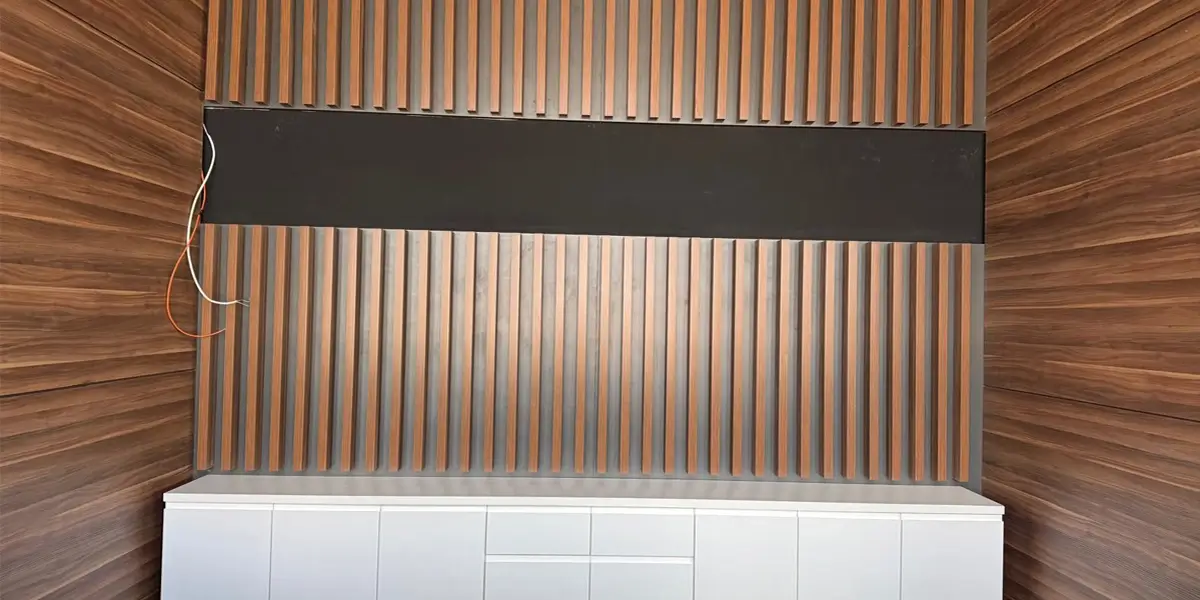
This screen had to fit an existing wall recess with fixed dimensions. The main challenge was the limited installation depth, so the structure, electronics and LED modules had to be planned around the available space.
4750 × 750 mm
Unlike the recessed screen, this display had no strict depth limitation. A custom steel structure was installed directly on the wall to support the LED modules and integrate the power supplies, receiving cards and cabling.
Same project. Two screens. Two different installation solutions.
Different site conditions require different installation approaches. The solution should follow the actual space — not a fixed template.
From Design to Installation
The final system was installed according to the actual site conditions defined during the planning stage.
Custom Structure
A custom steel structure was built according to the actual wall conditions.
Front Installation
LED modules and internal components were installed with front access for future maintenance.
Site Installation
The two LED displays were installed according to their respective site conditions.
Two screens. Two installation conditions.
One solution planned around the actual site.
By working with the existing space and using different installation methods, both displays were installed according to the actual conditions of the same venue.
Project Summary
A quick overview of the key project conditions and the solutions applied on site.
3250 × 500 mm
Existing wall recess
The display was installed in the existing recessed wall structure.
Limited installation depth
The available depth was limited and required a customized solution.
Front maintenance
Front access was used for future maintenance.
4750 × 750 mm
Standard wall surface
The display was installed on a standard wall surface.
Custom steel structure
A custom steel structure was built for stable installation.
Direct wall installation
The display was directly installed on the steel structure.
Designed around the actual site conditions —
not around a fixed installation template.
By working with the existing space and using different installation methods, both displays were installed according to the actual conditions of the same venue in Turkey.
Let's Discuss Your LED Display Project
Tell us about your project requirements. Our team will help evaluate the right LED solution based on your application, environment, and technical needs.
- 10+ Years LED Display Experience
- COB & Fine Pitch LED Expertise
- Global Project Engineering Support
CERTIFIED FOR GLOBAL ENGINEERING STANDARDS





Get Your LED Solution Proposal
Share your project details and our engineers will get back to you with a suitable solution.
🔒 Your information is kept confidential and will only be used to respond to your project inquiry.