
In the LED Video Wall industry, the installation phase is the starting point of the entire operational lifecycle. A successful installation not only ensures stable equipment operation but also directly impacts subsequent maintenance costs and service life. According to industry data, about 30% of LED display failures stem from improper installation, leading to additional rework expenses up to 20% of the project budget. As an LED Video Wall operator or purchaser, have you encountered issues like wiring chaos, environmental mismatches, or testing oversights during installation? This article will dissect common pitfalls step by step and provide a practical checklist to help you achieve zero-loss operations from planning to launch. Keywords: LED Video Wall installation, LED display operations, common installation errors.
Why is LED Video
LED Video Wall installation so critical?
LED Video Walls are high-value equipment (with single-screen costs ranging from tens of thousands to hundreds of thousands of dollars), and improper installation can trigger a chain reaction: from short-term downtime to long-term durability decline. Imagine a conference center where pixel burnout occurs due to poor humidity control, causing a week-long operational interruption. The losses go beyond repair fees to include opportunity costs. Proper installation can extend equipment life by over 15% and comply with IP protection standards, ensuring reliability in indoor and outdoor environments. Through this article, you’ll learn to avoid these traps and improve overall operational efficiency.
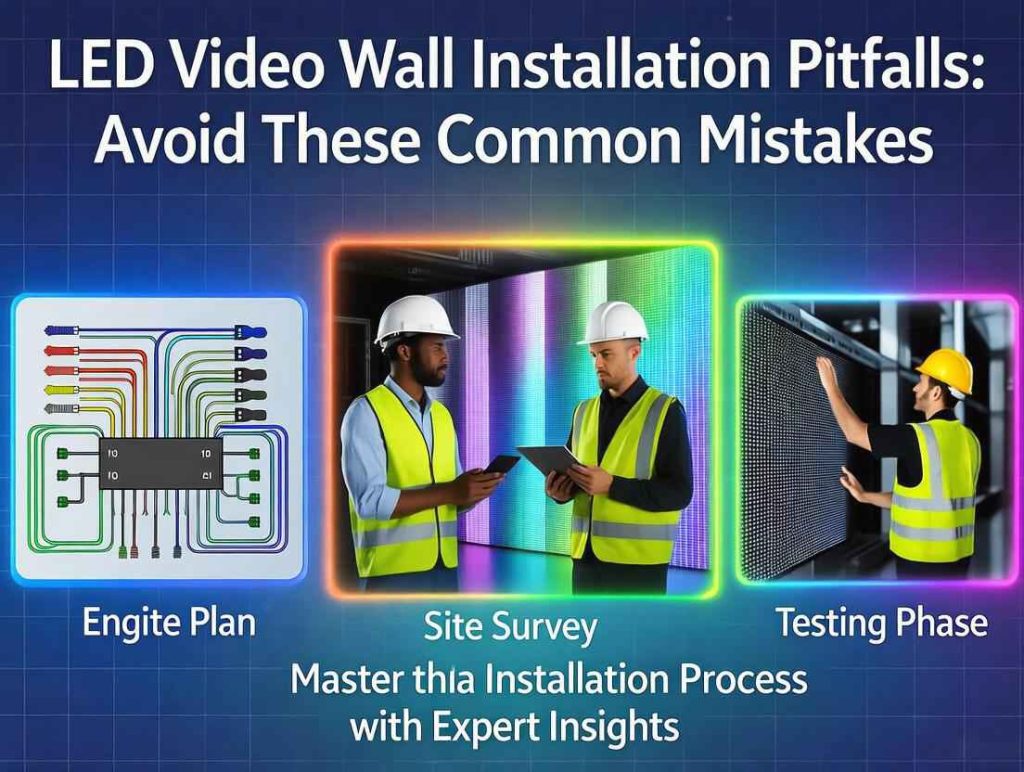
Step 1: Site Survey — The Foundation of Foundations
Before installation, a site survey is key to avoiding 90% of environment-related issues. Many operators skip this step, only to discover later that wall load-bearing is insufficient or lighting interference exists.
Key Actions:
- Space and Structure Measurement: Assess wall area, load-bearing capacity (LED screens weigh about 30-50kg per square meter), and installation height. Use laser distance meters for accuracy.
- Environmental Assessment: Check temperature (ideal range: -10°C to 40°C), humidity (<80%), and dust levels. For outdoor installations, consider wind load and waterproof rating (IP65 or higher).
- Power and Network Check: Confirm power stability (voltage fluctuation <5%) and signal transmission distance (HDMI or fiber optic limits).
Common Pitfall: Ignoring ventilation design, leading to screen overheating. Case Study: A retail store installed a large screen in a cramped space without reserving heat dissipation gaps, resulting in a 50% failure rate surge in the first month. Solution: Hire professional engineers for 3D simulation surveys, costing just 5% of the total budget but saving on later modifications.
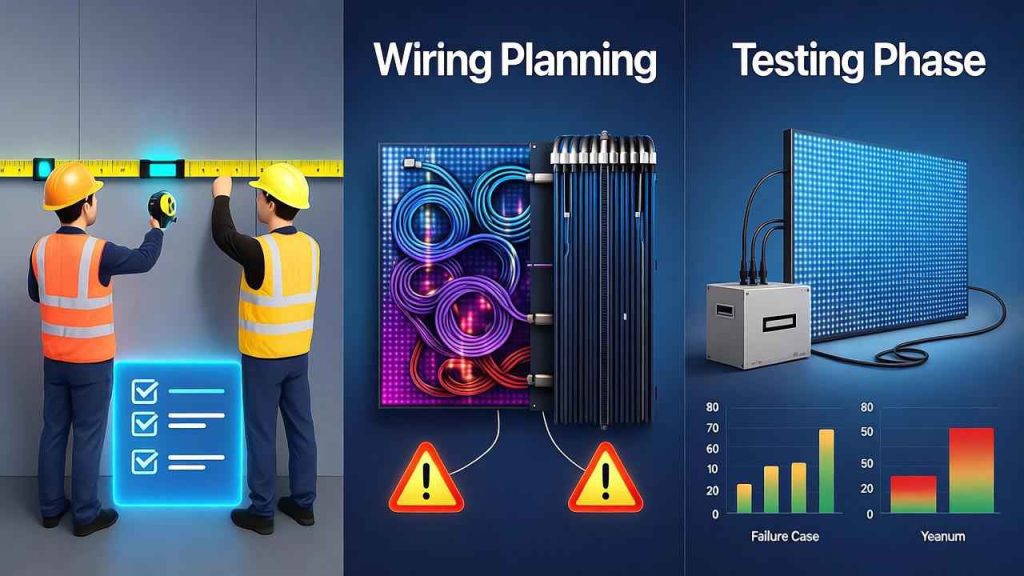
Step 2: Wiring Planning — Exposing the Hidden Killer
Wiring is the “nervous system” of LED Video Wall installation; poor planning causes signal delays or short circuits, affecting image smoothness.
Key Actions:
- Cable Selection: Use Cat6 cables indoors and shielded fiber optics outdoors. Keep total length under 100 meters to avoid signal attenuation.
- Layout Design: Adopt modular wiring, zoning power and data lines. Use cable trays for fixation to prevent rodent damage or pulling.
- Redundancy Design: Reserve 20% spare cables for future upgrades.
Common Pitfall: Tangled cables causing electromagnetic interference. Real Case: A stadium’s messy wiring during installation led to unstable signals, causing screen flickering during a game. Complaints reached 40%, and rewiring cost an extra 100,000 RMB. Solution: Draw wiring diagrams and validate with software like AutoCAD. Tip: Integrate smart PDUs (Power Distribution Units) for real-time current monitoring.
Step 3: Testing and Debugging — The Final Defense Before Launch
Testing isn’t an optional “wrap-up” but the core phase for uncovering hidden dangers. Many projects reveal issues only after launch, doubling operational costs.
Key Actions:
- Modular Testing: Check pixel consistency per cabinet (use colorimeters to measure brightness uniformity >95%).
- System Integration Testing: Simulate content playback, verifying refresh rate (>1920Hz) and latency (<1ms).
- Stress Testing: Run at full load for 24 hours, monitoring temperature and power consumption.
Common Pitfall: Testing environments not matching real conditions, like ignoring peak sunlight. Case Study: An advertising company installed an outdoor screen without sunlight testing, leading to low daytime contrast and poor ad effectiveness. The client canceled, resulting in a 500,000 RMB loss. Solution: Use multi-scenario simulations, including nighttime and rainy modes.
Real Case: Rework Lessons from a Conference Center Installation Failure
In 2023, an international conference center purchased a 2 million RMB LED Video Wall. The rushed installation team skipped humidity assessment (insufficient on-site AC) and exposed wiring to vents. Result: Within a week of launch, condensation caused short circuits, with a 5% dead pixel rate. Rework costs soared to 1.5 times the original budget, with a two-week operational halt and over a million RMB in canceled event losses.
Lessons Learned:
- Planning Deficiency: No detailed survey report.
- Rushed Execution: No phased testing.
- Remedial Measures: Post-incident professional team added dehumidification systems and protective covers, dropping failure rate below 1%.
This case, drawn from industry reports (like LEDinside data), reminds us: Small pits breed big disasters, and upfront planning yields a 300% ROI.
Installation Operations Checklist: Your Practical Download Tool
For ease of use, here’s a simple checklist. Copy it to Excel or contact us for a PDF version.
| Phase | Checklist Items | Responsible Person | Completion Status |
|---|---|---|---|
| Site Survey | Space measurement, environmental parameter recording | Engineer | Yes/No |
| Wiring Planning | Cable type confirmation, layout diagram approval | Technician | Yes/No |
| Installation Execution | Module fixation, power connection | Installation Team | Yes/No |
| Testing & Debugging | Pixel testing, 24h stress run | QA Team | Yes/No |
| Launch Acceptance | Final report, user training | Project Manager | Yes/No |
Using this table can reduce installation risks by 70%. Extra Tip: Integrate BIM (Building Information Modeling) tools for digital management.(LeYeDisplay)
Learn from Pitfalls to Achieve Efficient Operations
While LED Video Wall installation and operations have many pitfalls, systematic planning, wiring optimization, and thorough testing allow you to avoid unnecessary losses. Remember, professional installation is not just technical—it’s part of operational strategy. Investing in early planning saves long-term costs and boosts client satisfaction.
If you’re planning an LED Video Wall project, contact our expert team for free consultations and customized solutions. Share your installation experiences in the comments—let’s discuss more operational insights!(Contact Us)


